Teams
Use Teams to review the accounts that can access the site currently selected in Spot Orbit.
Overview
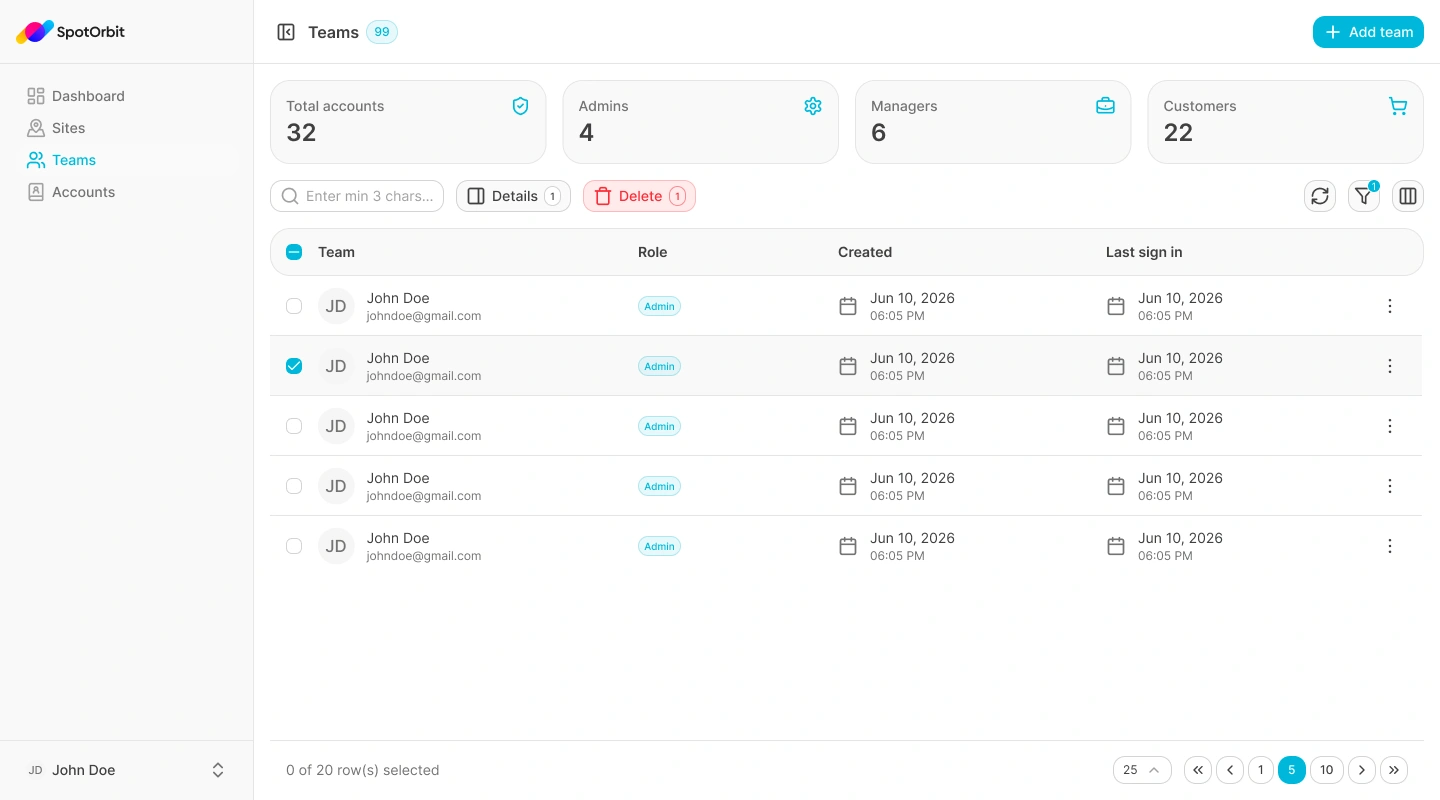
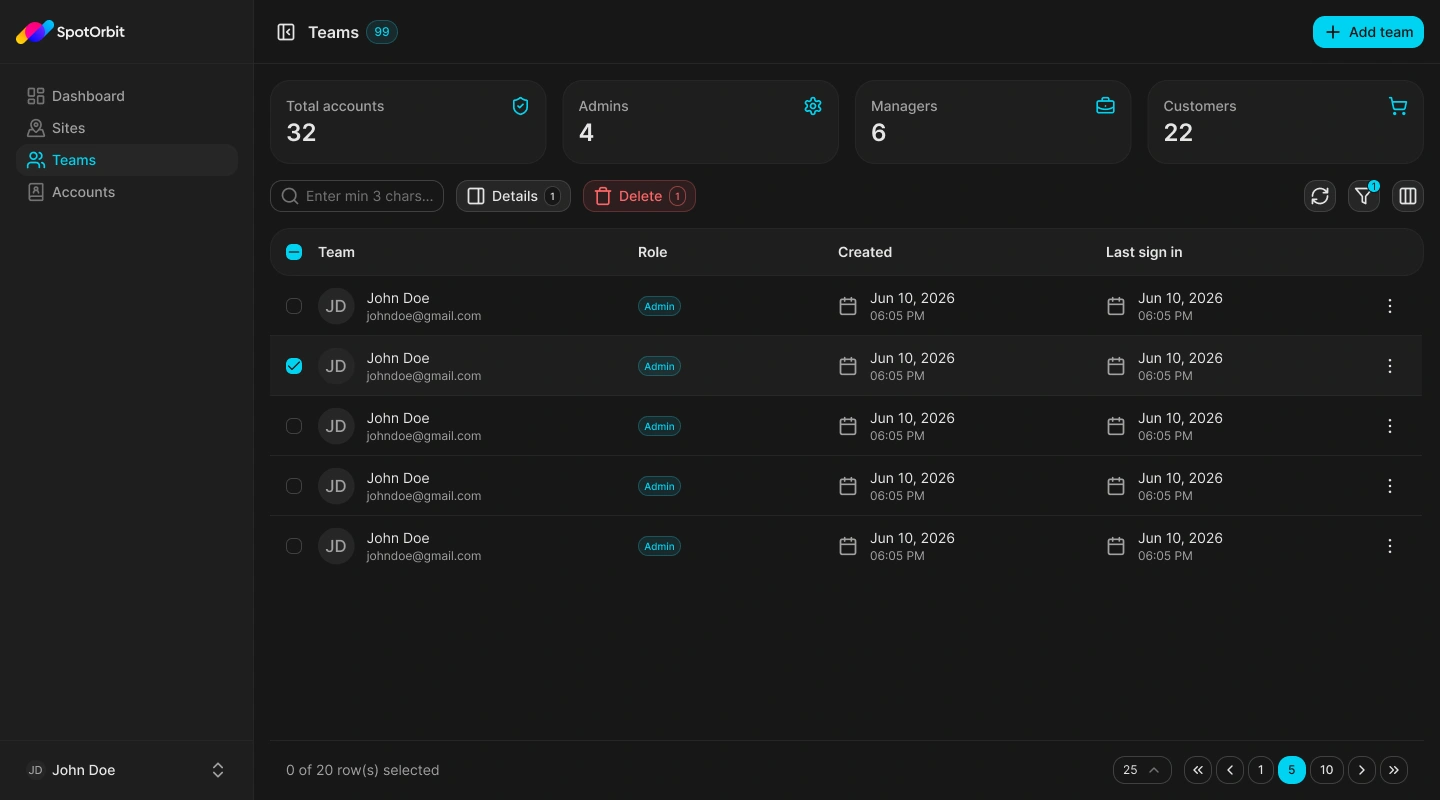
The page combines role summary cards with a searchable, filterable table. Each row represents one site membership and shows the member's identity, site role, creation date, and last sign-in. From the same page, you can open member details, revoke one or several memberships, or open Add team to manage invitations.
The current Teams page does not change member roles and does not provide an export action.
Understand the site scope and summaries
Teams always follows the site selected in the Admin workspace. Changing sites changes the memberships displayed on this page.
The cards above the table show:
- Total accounts: all memberships loaded for the selected site.
- Admins: memberships whose role is owner or administrator.
- Manager: memberships whose role is manager.
- Customers: memberships whose role is operator or viewer.
The number beside the Teams title also reports the loaded membership count. Searching and filtering change the table results but do not recalculate the cards.
Find a team member
Select the site
Use the site selector to confirm that you are working in the intended site, then open Teams from the sidebar.
Enter a search term
Type at least three characters. Spot Orbit compares the term with the loaded members' display name, email, user identifier, and role.
Refine the results
Open the filter control when you need a date range, or use the columns control to hide, show, or reorder manageable columns.
Review the matching rows
Use the page-size selector and pagination to move through the filtered list. The default page size is 10; the available sizes are 10, 25, 50, and 100.
Clearing the search restores the unsearched list. One or two characters remain visible in the field but do not apply a search.
Filter by date
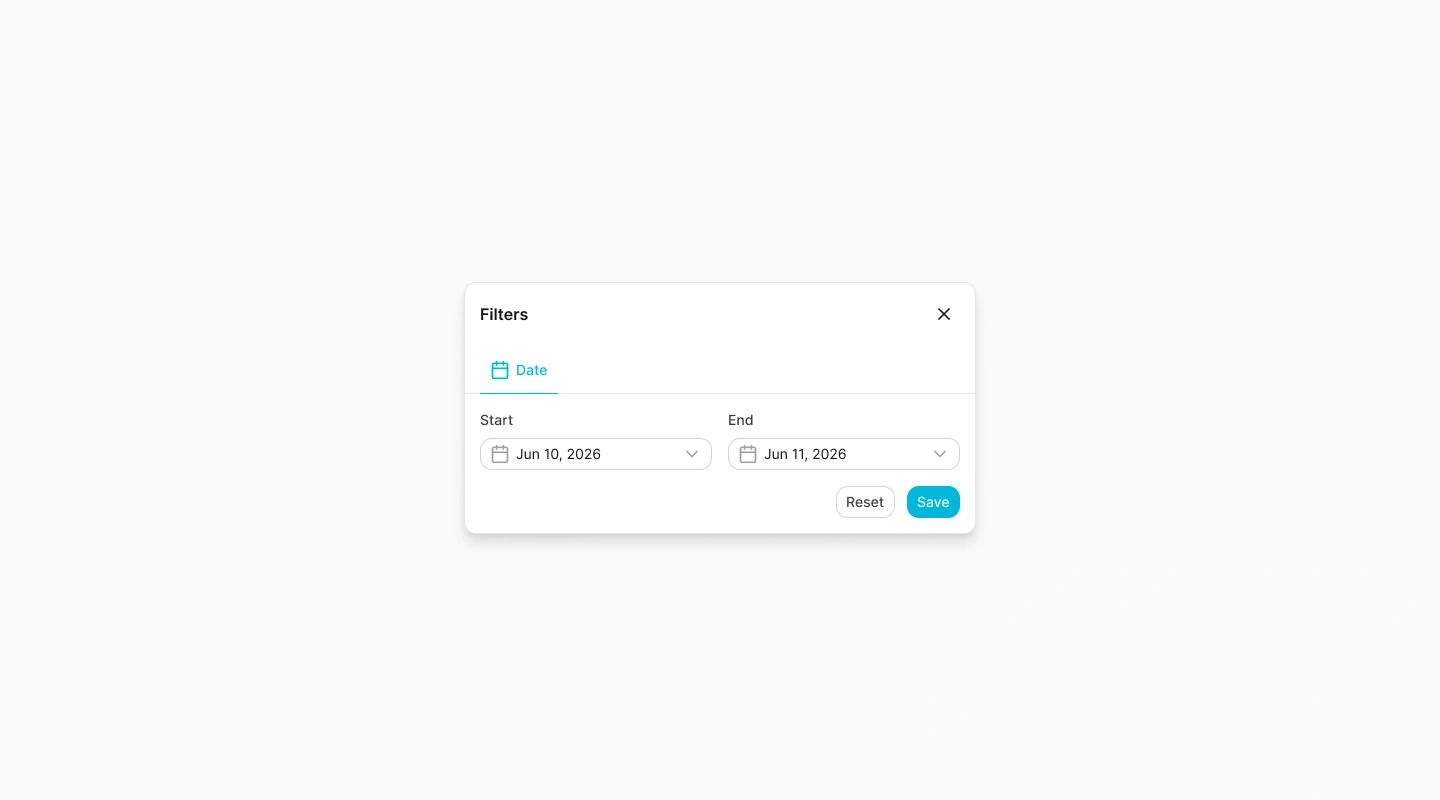
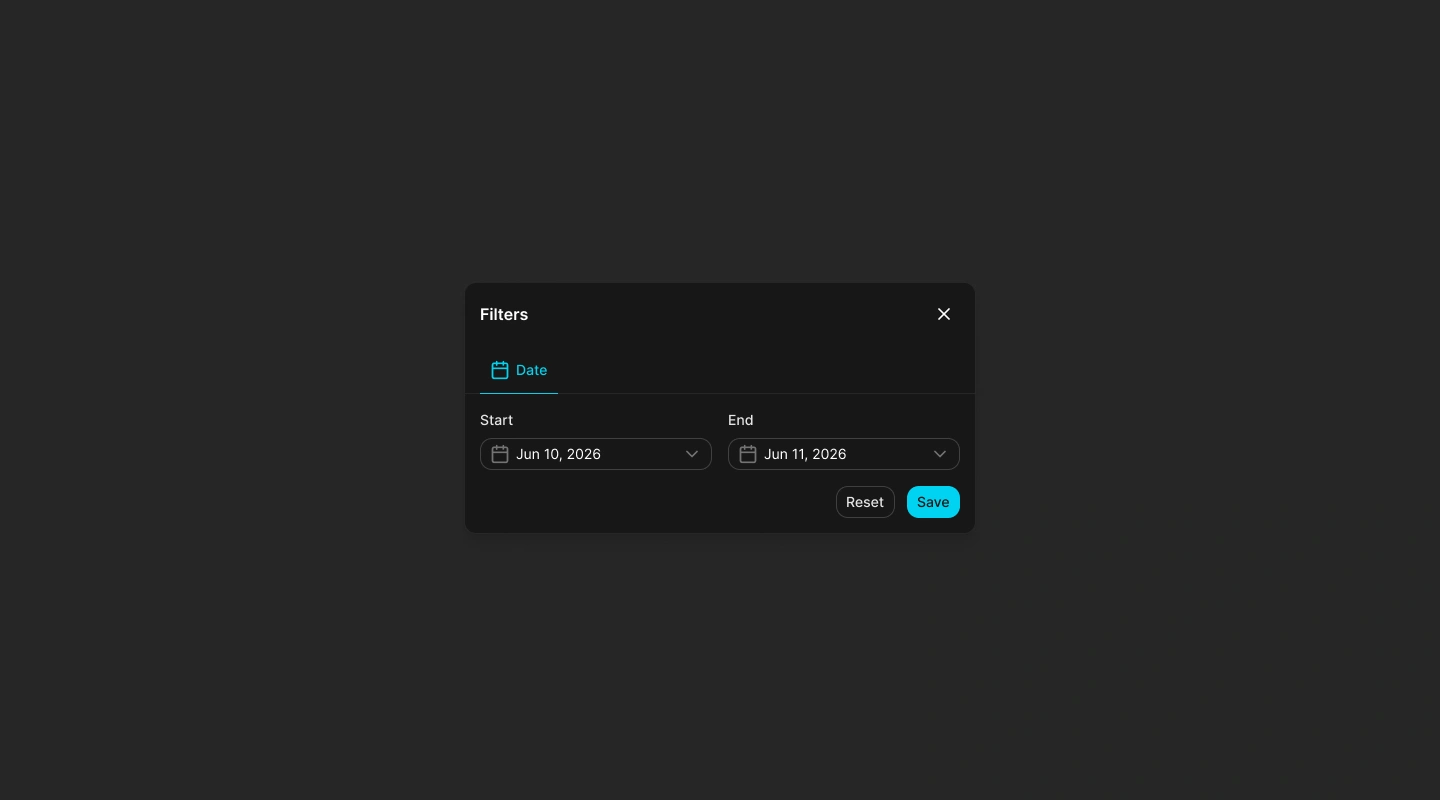
The date filter includes a member when either the membership's creation date or the account's last sign-in is inside the chosen range. You may provide both boundaries or only a start or end date.
Open the filter
Select the filter button above the table. A badge appears when a date filter is active.
Choose the range
Select a start date, an end date, or both.
Apply or clear the filter
Select Save to apply the draft range. Select Reset to remove it and return to all loaded memberships.
Applying a search or date filter returns the table to its first page and clears selected rows.
Read the table and available actions
Each row can display:
- Team: the member's display name with the email or user identifier underneath.
- Role: the member's role in the selected site.
- Created: when the membership was created.
- Last sign in: the latest recorded sign-in, when available.
- Actions: the menu for that membership.
Open the three-dot menu for one row to choose Details or Revoke. You can also select rows: Details is available only when exactly one row is selected, while Revoke can act on one or several selected memberships.
Use the refresh button to request the membership list again. No teams found appears when the loaded data, search, and filter produce no rows. If loading fails, select Retry. If your account has no site access, the page shows No sites available instead of the table.
Frequently asked questions (FAQ)
Enter at least three characters. Shorter text is not applied as a search.
A row matches when its creation date or last-sign-in date falls inside the selected range.
No. The current Teams page does not expose an export action.
Teams is scoped to the current site. Each site has its own memberships and invitations.
Related content
- Invitations — Invite a person and manage pending or expired links.
- Member access — Review member details and revoke site access.
- Accounts — Review platform-level account information and lifecycle actions.
- Getting started — Learn how site selection affects the Admin workspace.